
Dear Linen-Closet Door,
I forgive you.
Yes, you fought me during every step of the build, but it’s all over now. I’m done with you, and you’re where you’re supposed to be, attached to a frame, and hiding towels and bathroom supplies.
But what a battle it was.
Respect,
Unknown

When I remodeled one of our bathrooms, which was a crazy project that took me six months, I built some shelving outside the bathroom door. This was four years ago. I finally got tired of looking at the mess and decided to build a door to hide it.

First mistake: I used poplar. It’s so soft that just looking at it the wrong way causes it to dent. In the end, it came out okay, but I would never use this wood again. I apologize to Pine and Maple for not using them instead.
I drilled pocket holes and glued the joints. I probably didn’t need all of the pocket holes. In fact, I own a router table and glue joint bit now so I can join wood easier than the way I did for this project. No more pocket holes for projects like this one.

I didn’t have enough pipe clamps so I borrowed some from a neighbor. I made another mistake here by not clamping the ends with wood pieces, which keeps the ends even and reduces warping. I learned this after the glue-up phase. Oops. Another mistake. And my door is a little warped because I didn’t know this step. Also, I hand cut and glued contrasting walnut plugs for each pocket hole.

Before I glued the boards together, I noticed the sides weren’t flush and had some small gaps when placed next to each other. So, I made a rabbet cut on each edge and cut small pieces of bubinga, rosewood and pine for the inlay groves. My daughter designed the layout.
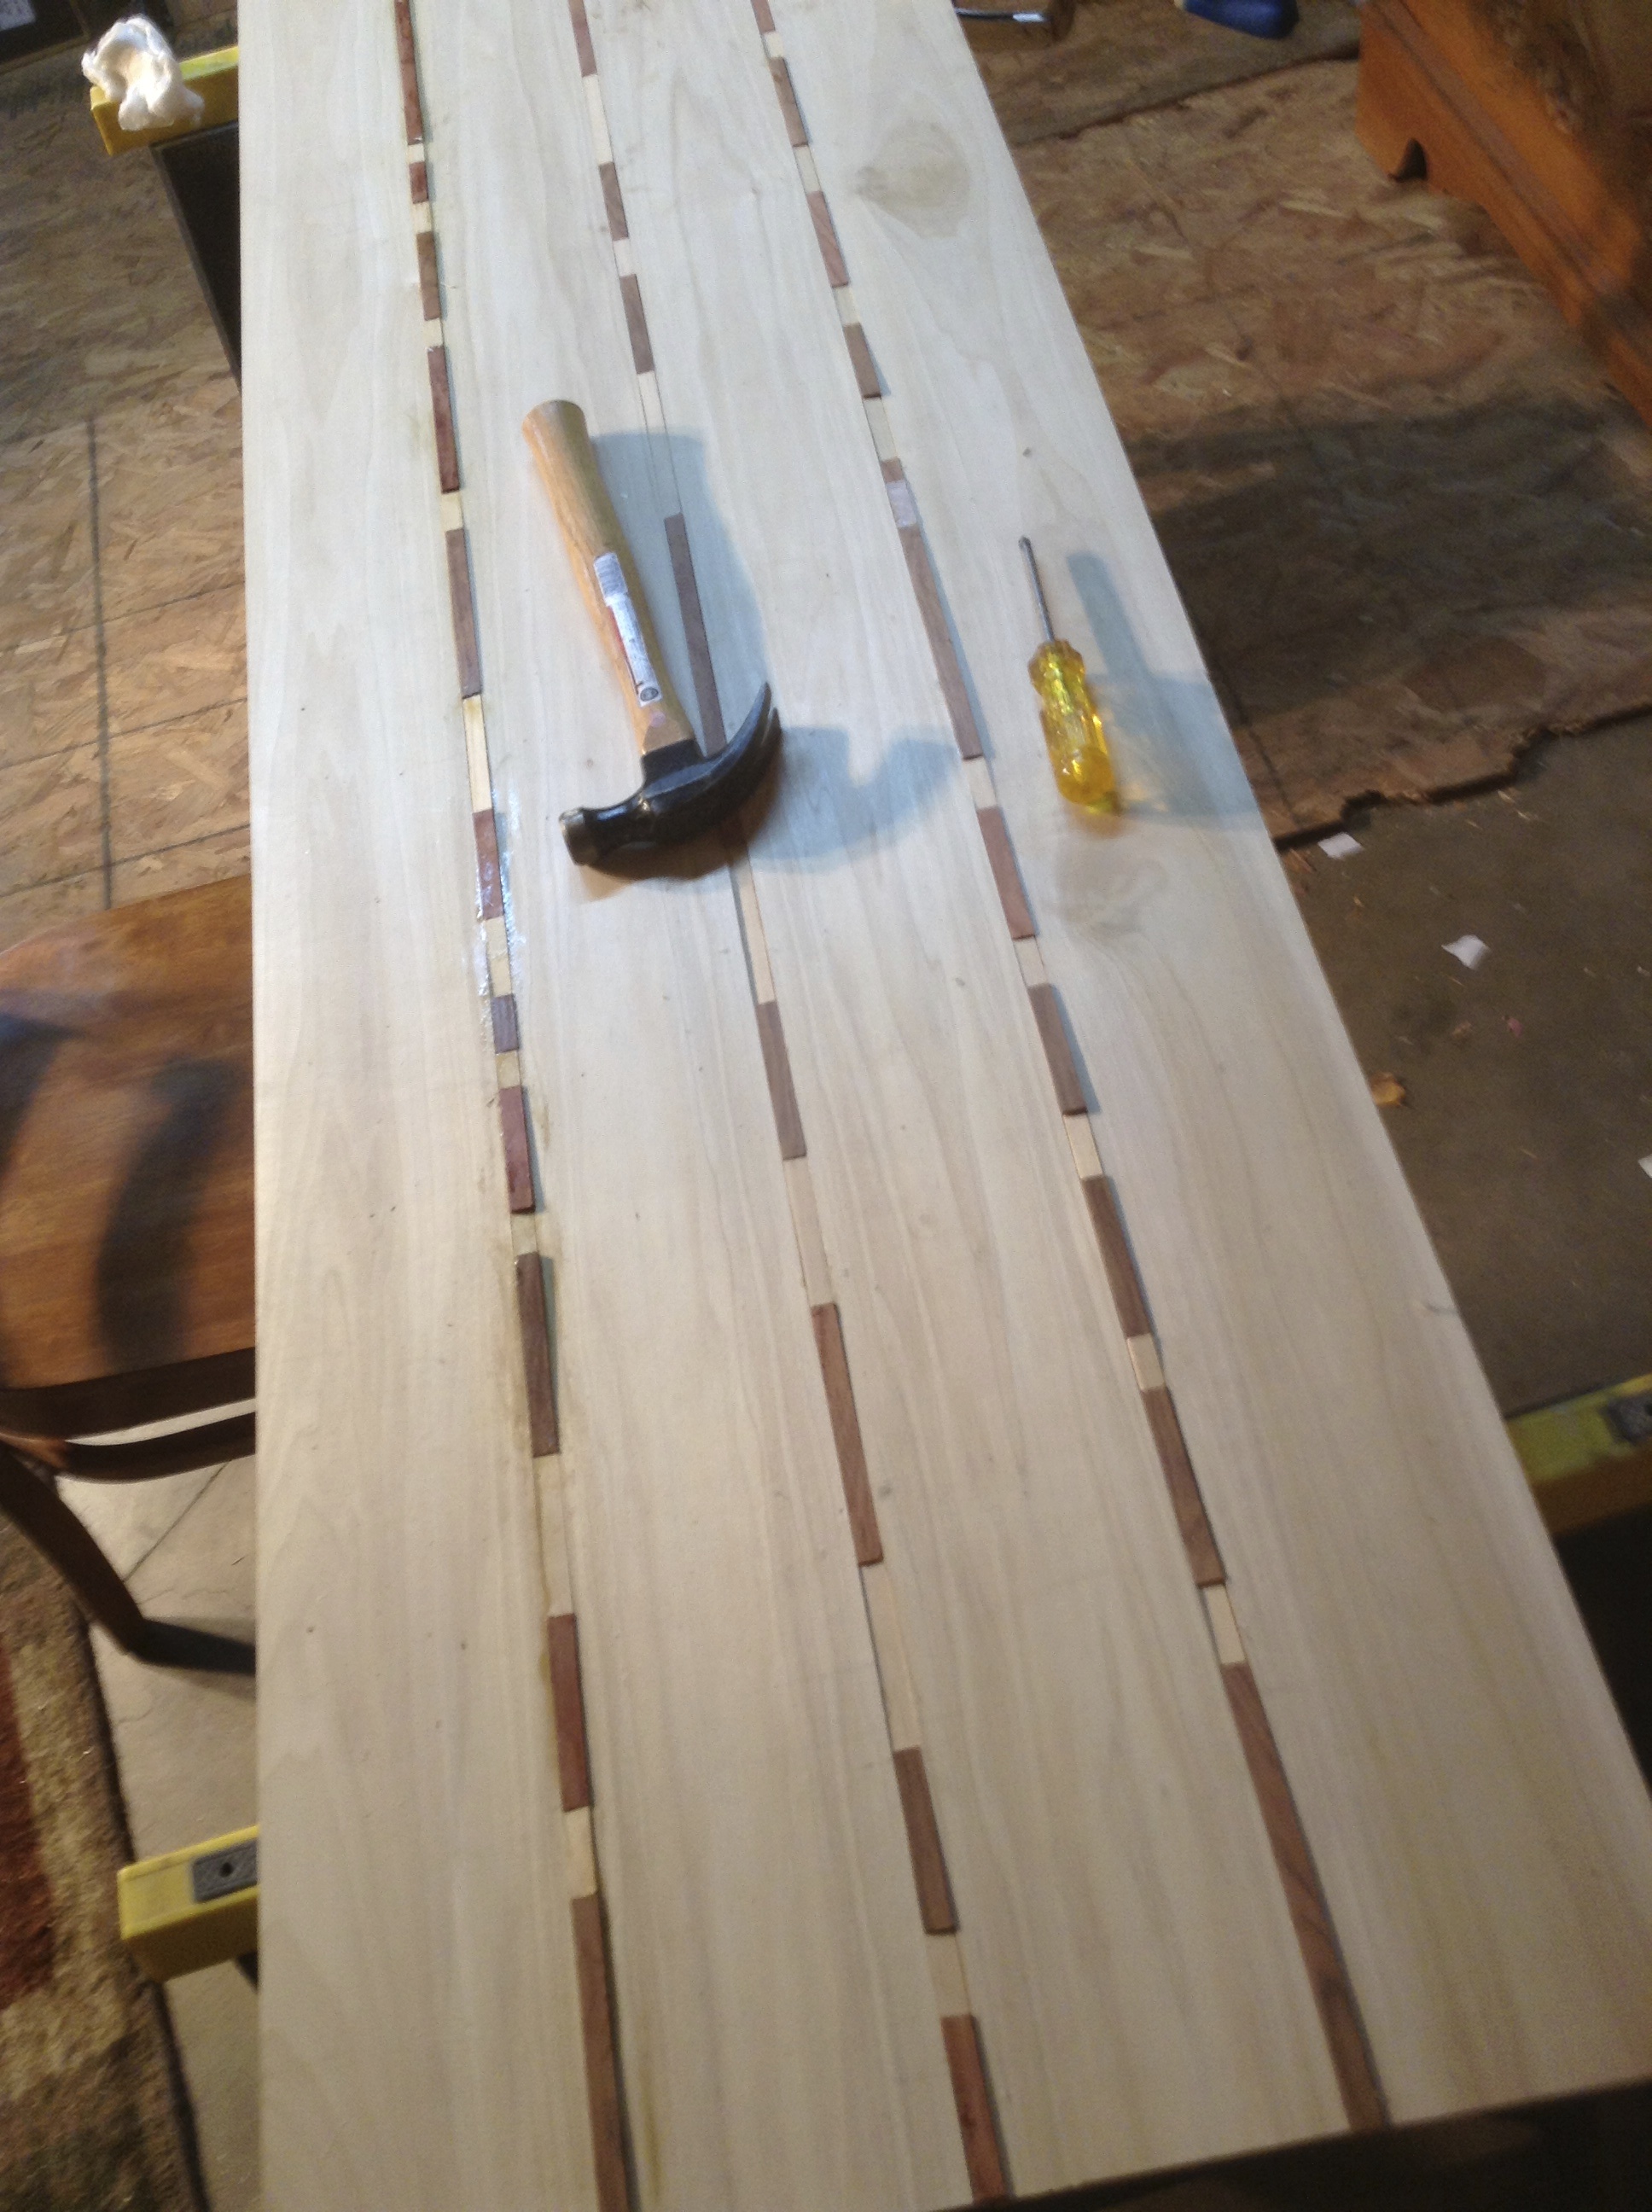
I poured glue in the grooves and we placed the inlay pieces. I added too much glue to the first joint and made the mistake of wiping it when it was wet. I should have let it dry and chipped it off later. Instead I rubbed it into the wood. Rookie error.
Notice the inlay sticking up above the wood. I had to take my flush cutter and cut the excess off of each piece. That was a joy. Some of the pine was too low. I’ll take better measurements next time.
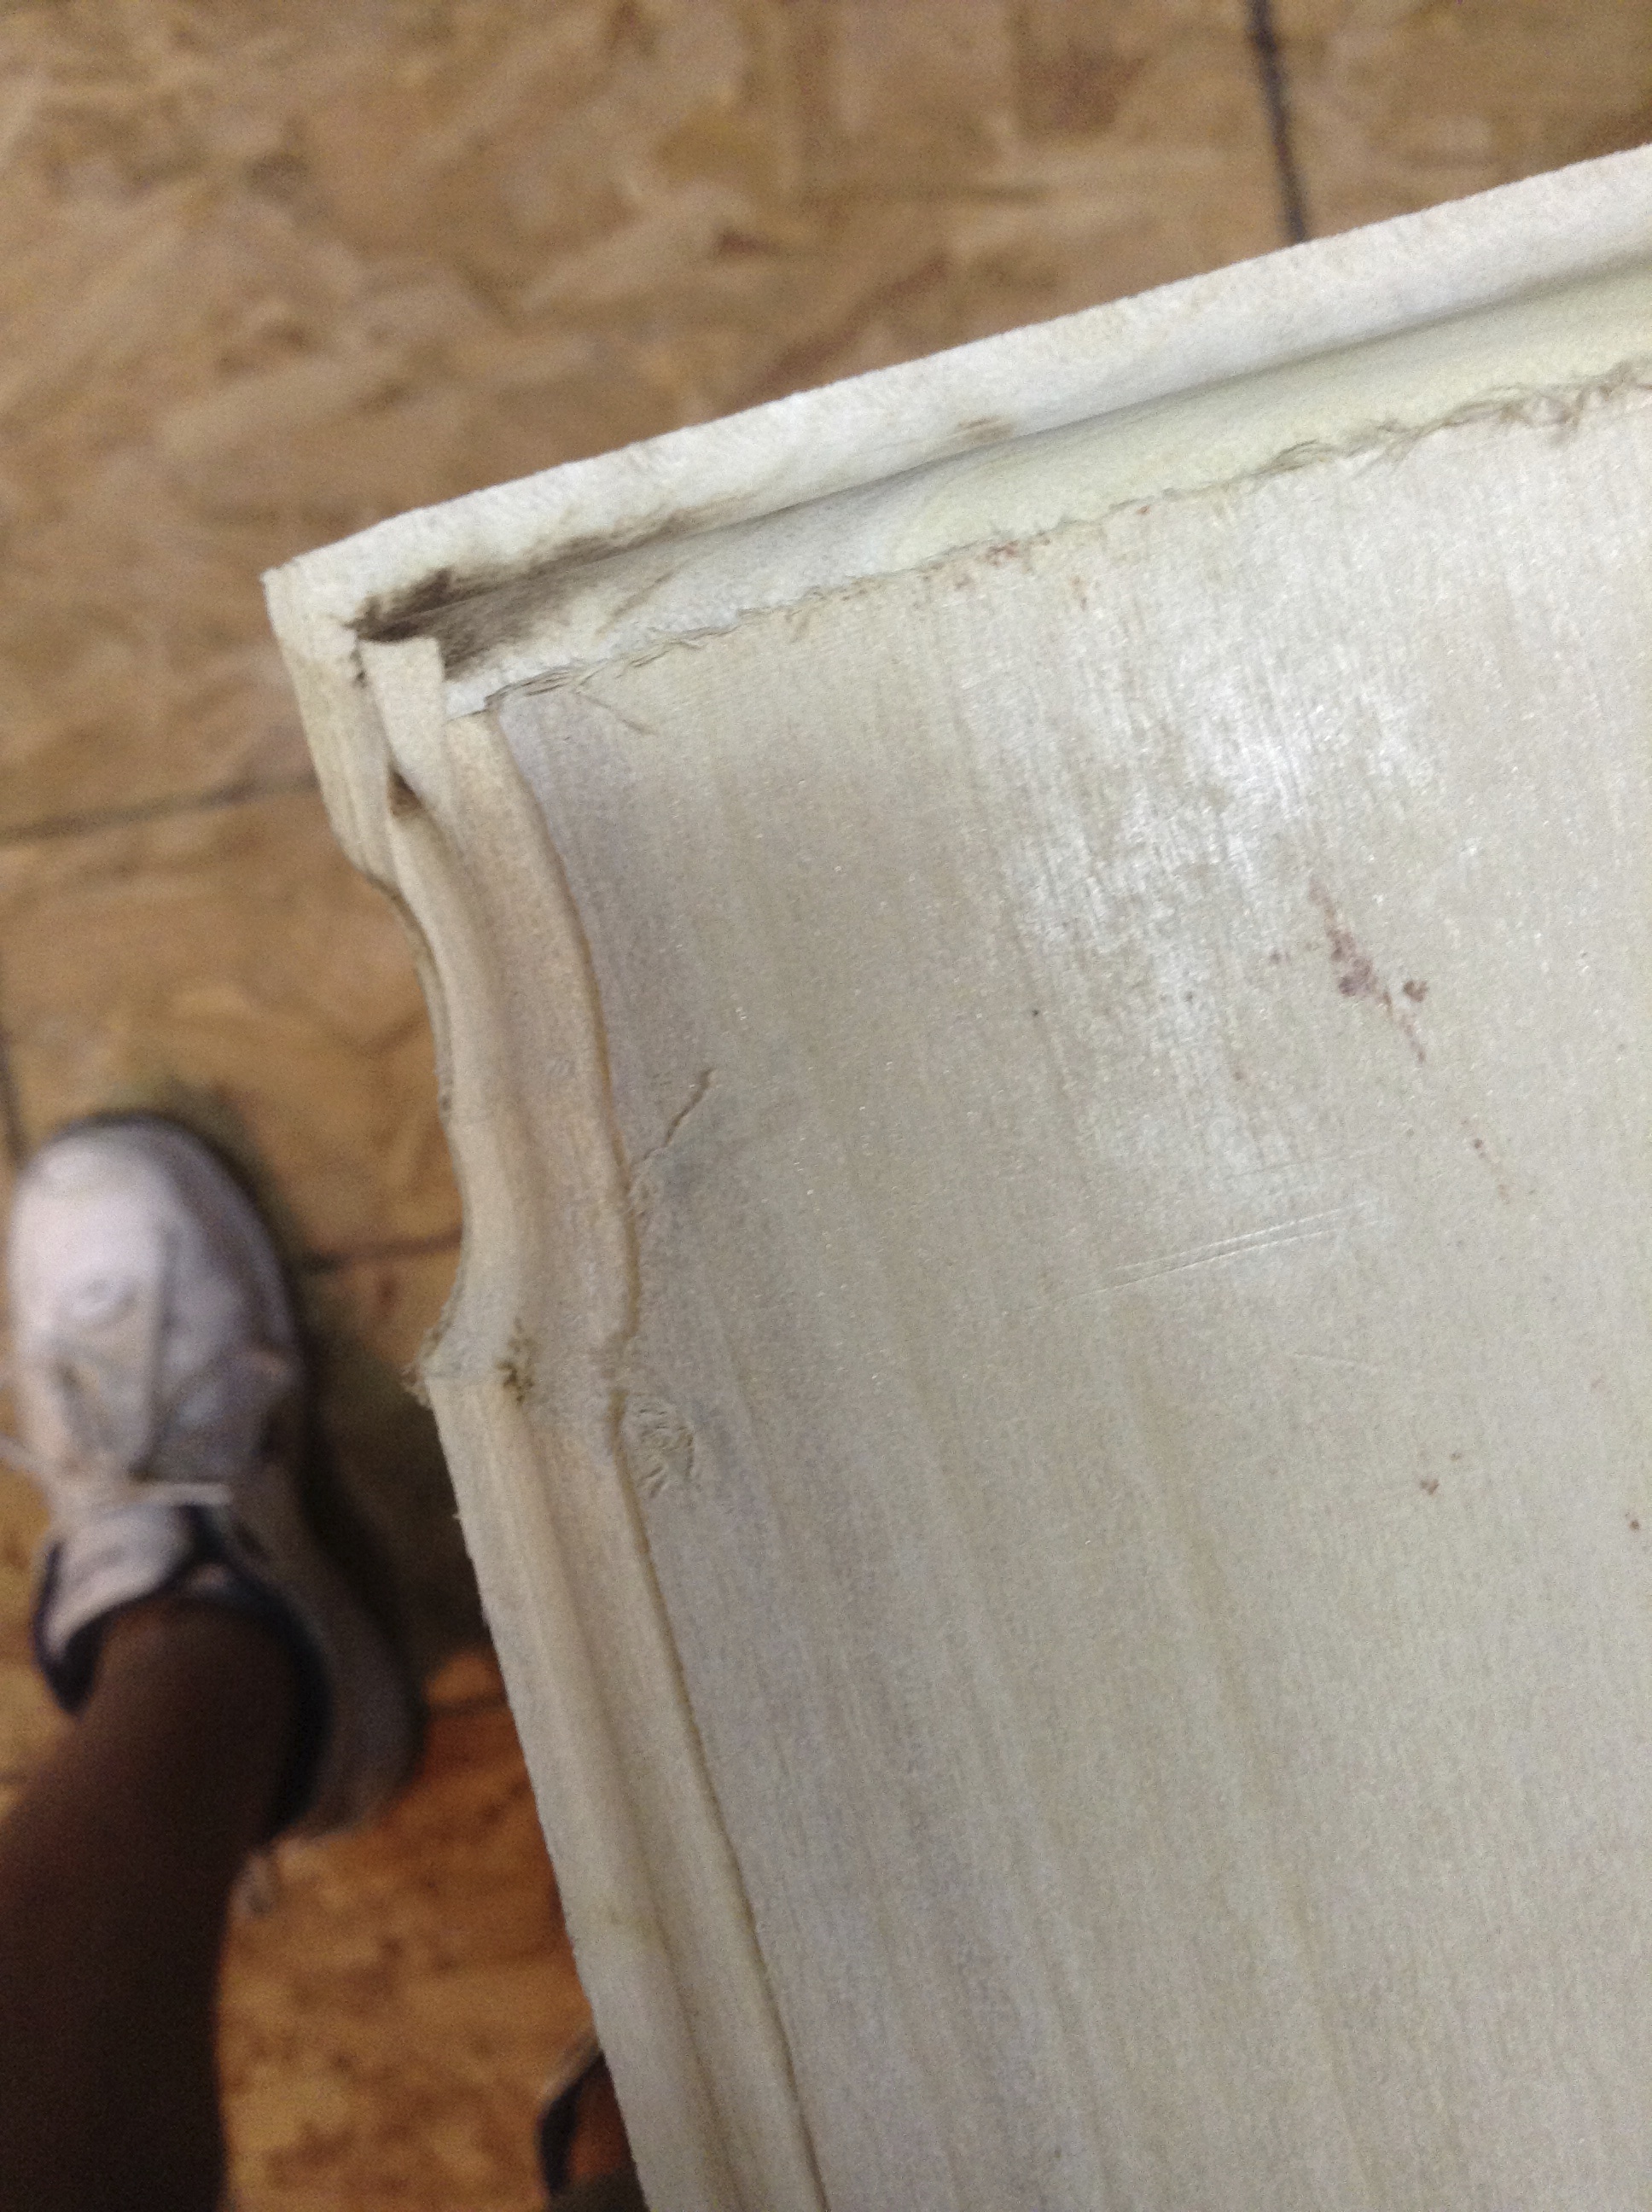
This was the most heartbreaking mistake I made. And it almost caused me to give up. I was tired and impatient and decided to use the router by hand and not on the router table. Oops, big slip. Edge ruined. Goodbye overlay door, hello inset door. That’s right. I cut off an equal amount from each side and a little off the top and made it fit inside the closet opening, not over it.

Ah, hubris. To think I was ready to use Tung Oil. It’s not that hard according to the instructions. Apply it, rub it in, wait 15 minutes and wife off excess. 10 coats later, it got a little shiny but not where I wanted it. And worse of all I had to wait 24 hours between coats. Back to shellac for me. Or Briwax.

Here’s the finished door after 10 coats of Tung Oil. I hung it with four soft-close hinges. It came out okay. I’ll replace the painted wood border in about 4 years or so. This project was about the lessons learned, not the finished product.
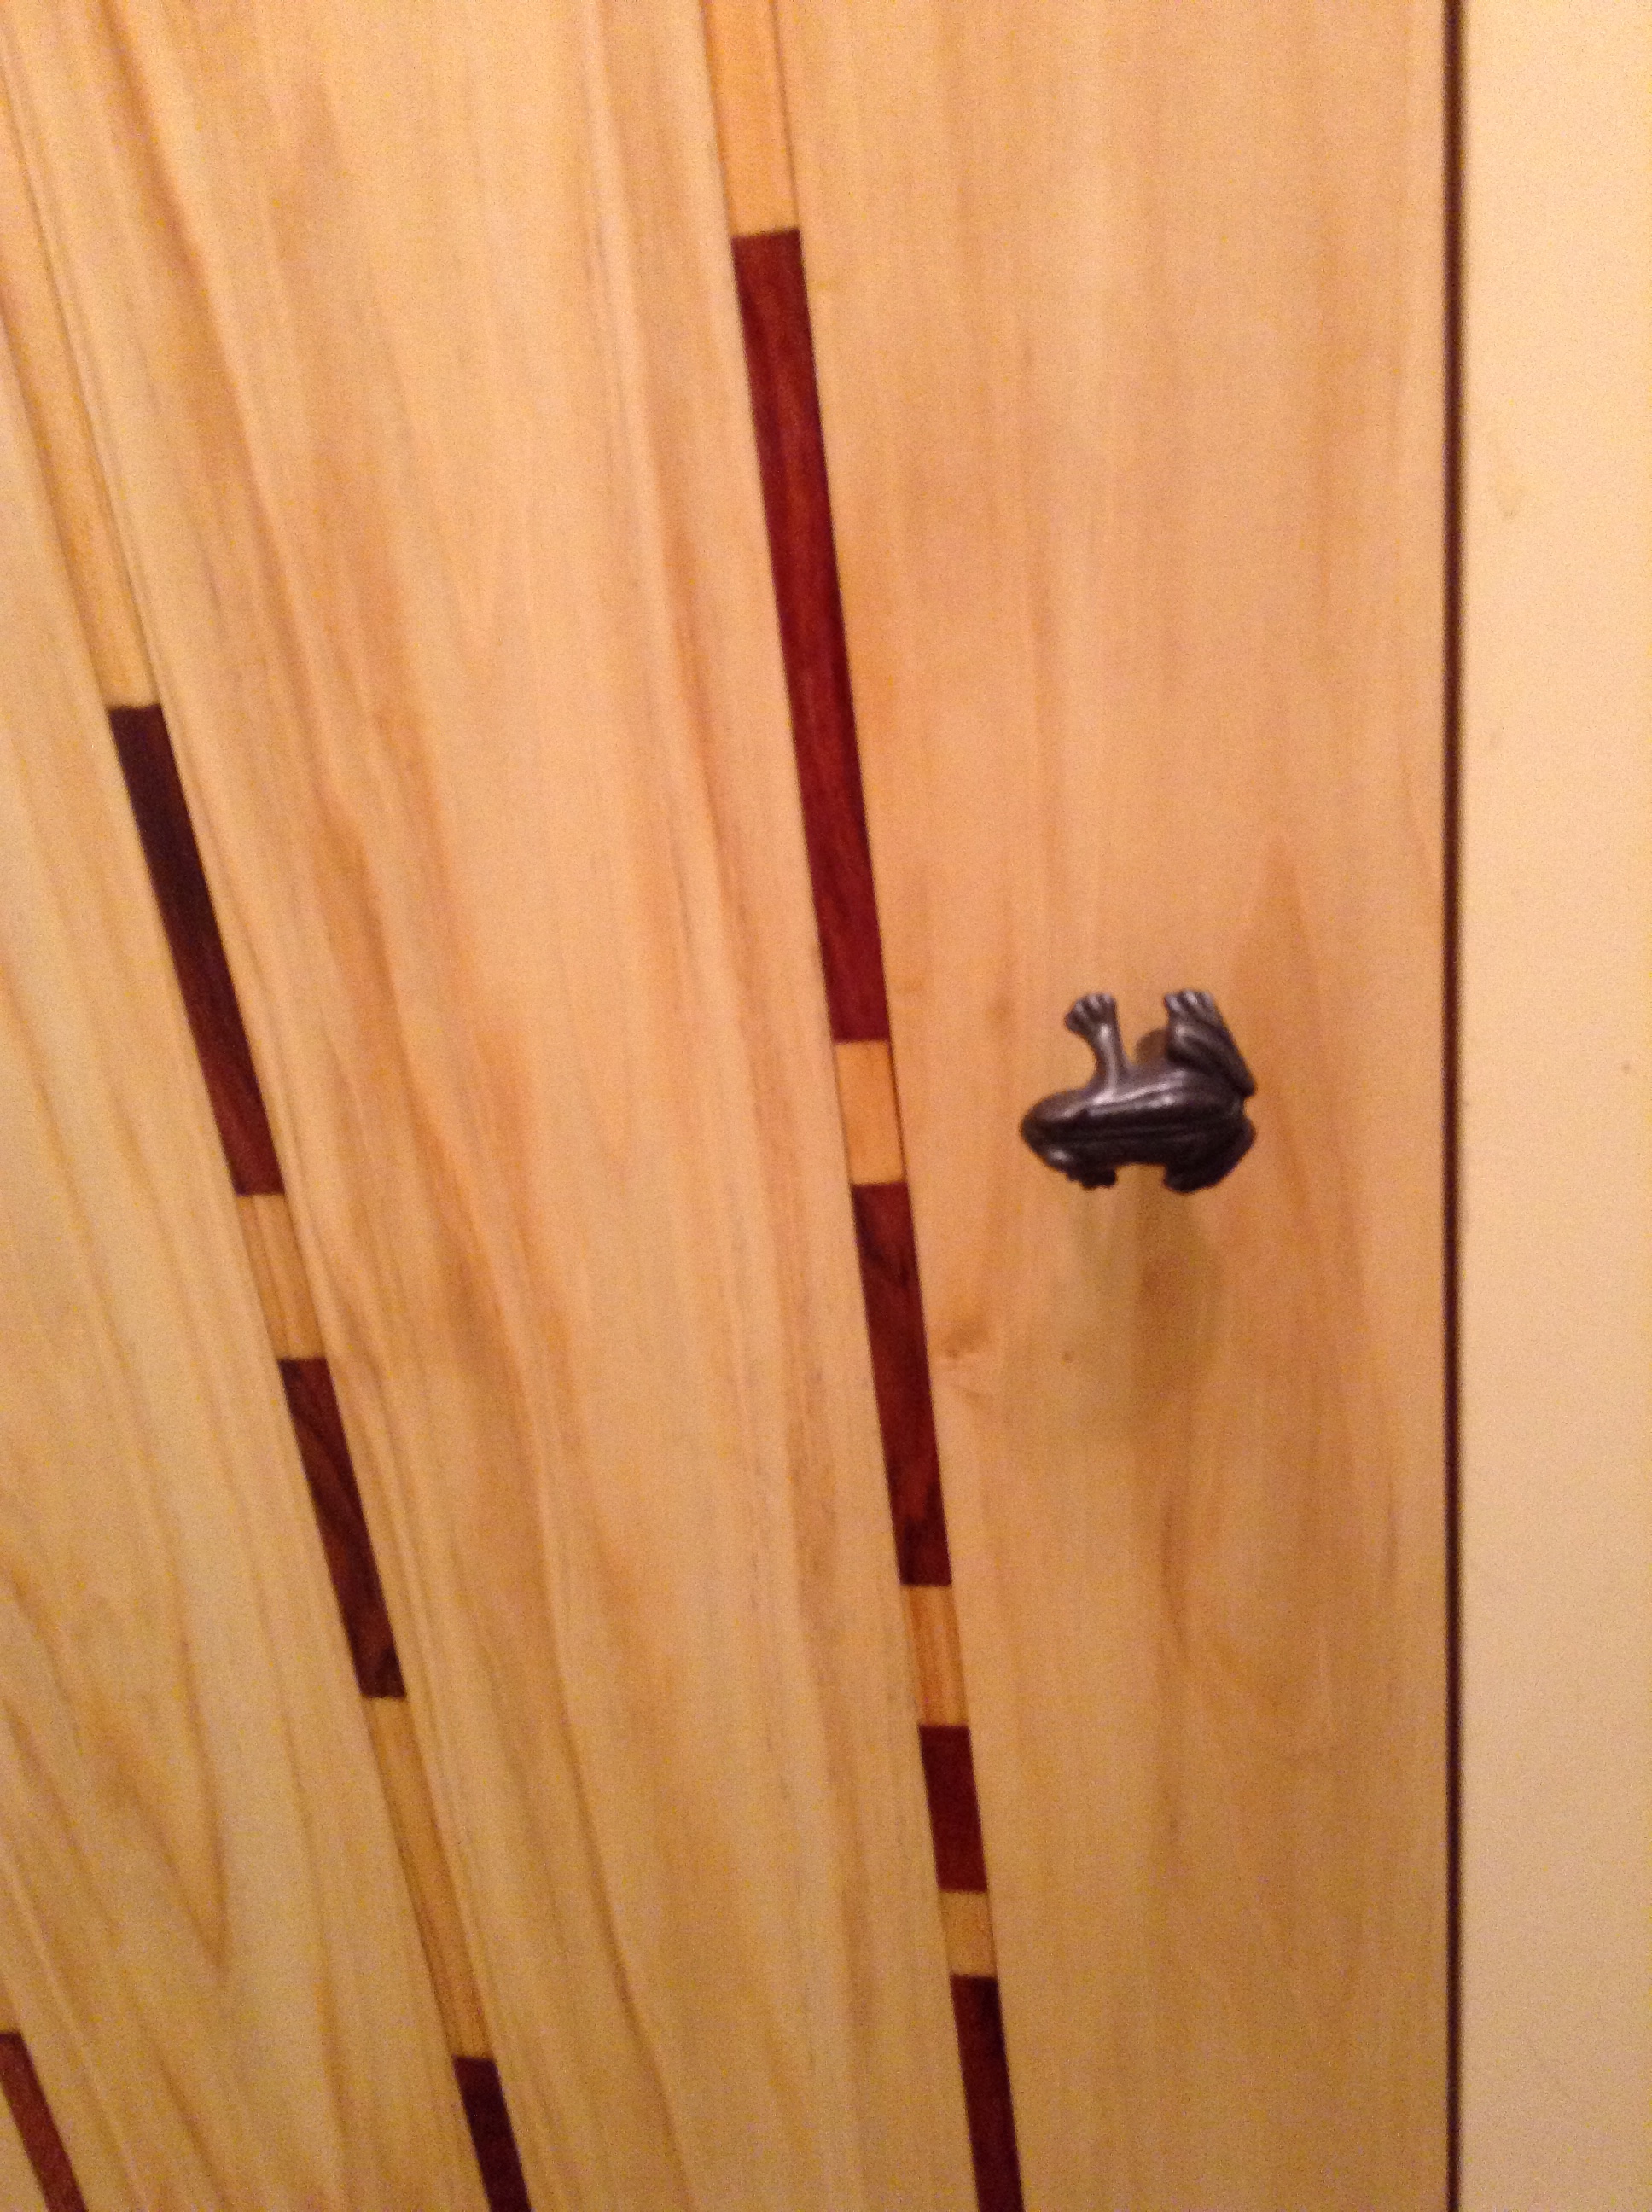
I originally had the frog heads up but then realized the door reminded me of Frogger. Sideways he went to cross the road and avoid getting smashed by traffic. That’s it. On to other projects, like replacing a painted closet door with one like this. Thanks for reading.
Dear Unknown,
You suck.
Sincerely,
Linen-Closet Door

Great job!!! Looks really nice and you should be proud. i Like the pattern layout your daughter designed also. A project like this requires much patience which you seem to have an abundance of,
Stay well.
Larry ( GA)
Larry,
Thank you. I have no patience. But I do have OCD. It serves me well on projects, though I almost gave up on this one.
Hope all is well with you.
UC
Jeez UC, that looks amazing!
Margie,
Thanks. For a first one, it turned out okay. On to the next door.
UC